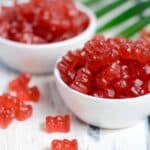
If you have a sweet tooth but crave something a little more natural and fun, you are going to fall in love with this Homemade Strawberry Gummy Bears Recipe. Bursting with real strawberry flavor, these gummy bears capture the perfect balance of fruity freshness and soft, chewy texture that makes candy so irresistible. Plus, making them yourself means you control every ingredient, skipping the artificial colors and flavors while adding a personal touch to one of the most playful treats out there. Whether you’re prepping a snack for kids or looking for a unique party favor, these little gummies are an absolute delight to make and enjoy.
Ingredients You’ll Need
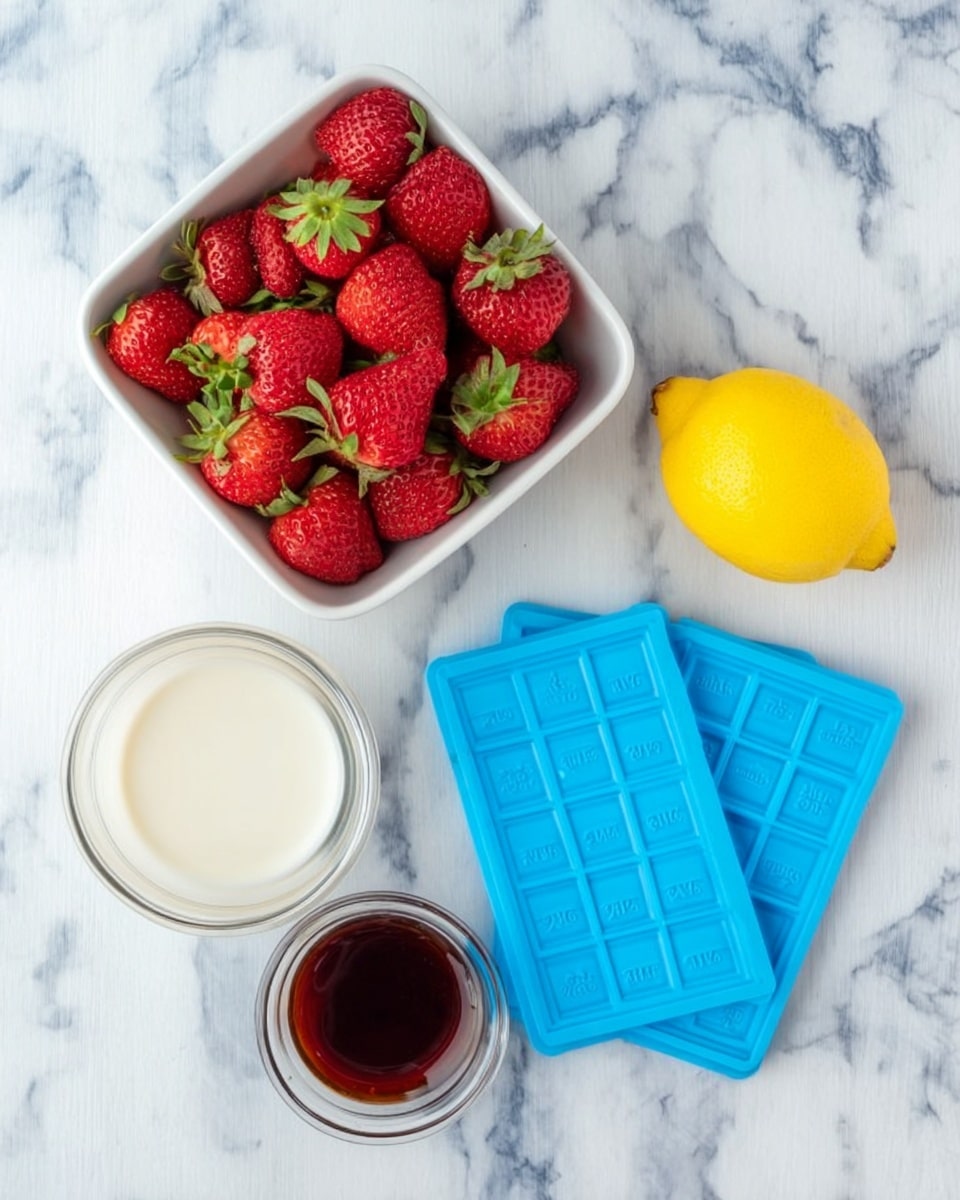
Creating your own gummy bears might sound fancy, but the ingredients are refreshingly simple and each one plays a vital role. From the sweetness and natural fruitiness to the gel-like consistency, these essentials come together beautifully to make your gummies a shining star.
- 2 cups of diced strawberries: These deliver the natural strawberry flavor and a lovely, vibrant color.
- 2 boxes (2.25 oz each) of unflavored gelatin: The magic behind the gummy texture that holds everything together.
- 2 tablespoons of raw honey: A gentle, natural sweetener that complements the strawberries perfectly without overpowering them.
- 1 tablespoon of lemon juice: Adds a hint of zing and helps brighten the overall flavor.
- Gummy bear mold: The fun shape that turns your creation into adorable little bears ready to pop in your mouth.
How to Make Homemade Strawberry Gummy Bears Recipe
Step 1: Prepare the Strawberry Mixture
Start by placing your diced strawberries in a blender along with the lemon juice and raw honey. Blend until the strawberries are fully broken down into a smooth juice. If your strawberries are seedy, strain this juice through a fine mesh sieve to catch any seeds. This step makes filling your molds much easier and keeps the texture smooth.
Step 2: Incorporate the Gelatin
Pour the strawberry juice into a saucepan and sprinkle the unflavored gelatin evenly over the surface. Set your heat to medium and whisk frequently as the mixture warms up. Keep stirring until it reaches a slow boil, ensuring the gelatin dissolves completely. Once boiling, immediately remove the pan from heat to prevent overcooking or bitterness.
Step 3: Fill Your Gummy Bear Molds
When your gelatin mixture is ready, it’s time to fill the molds. Using the eye dropper that often comes with the mold or a food-safe squeeze bottle, carefully fill each gummy bear cavity. Take your time with this part to avoid spills or uneven gummy sizes.
Step 4: Chill to Solidify
Place the filled molds in the refrigerator for about 20 minutes. This chilling period allows the gummies to set and firm up into their classic chewy texture. While this is happening, keep the remaining gummy mixture warm to prevent it from stiffening; you can keep your squeeze bottle in hot water or maintain the saucepan gently heated.
Step 5: Pop Out the Gummies
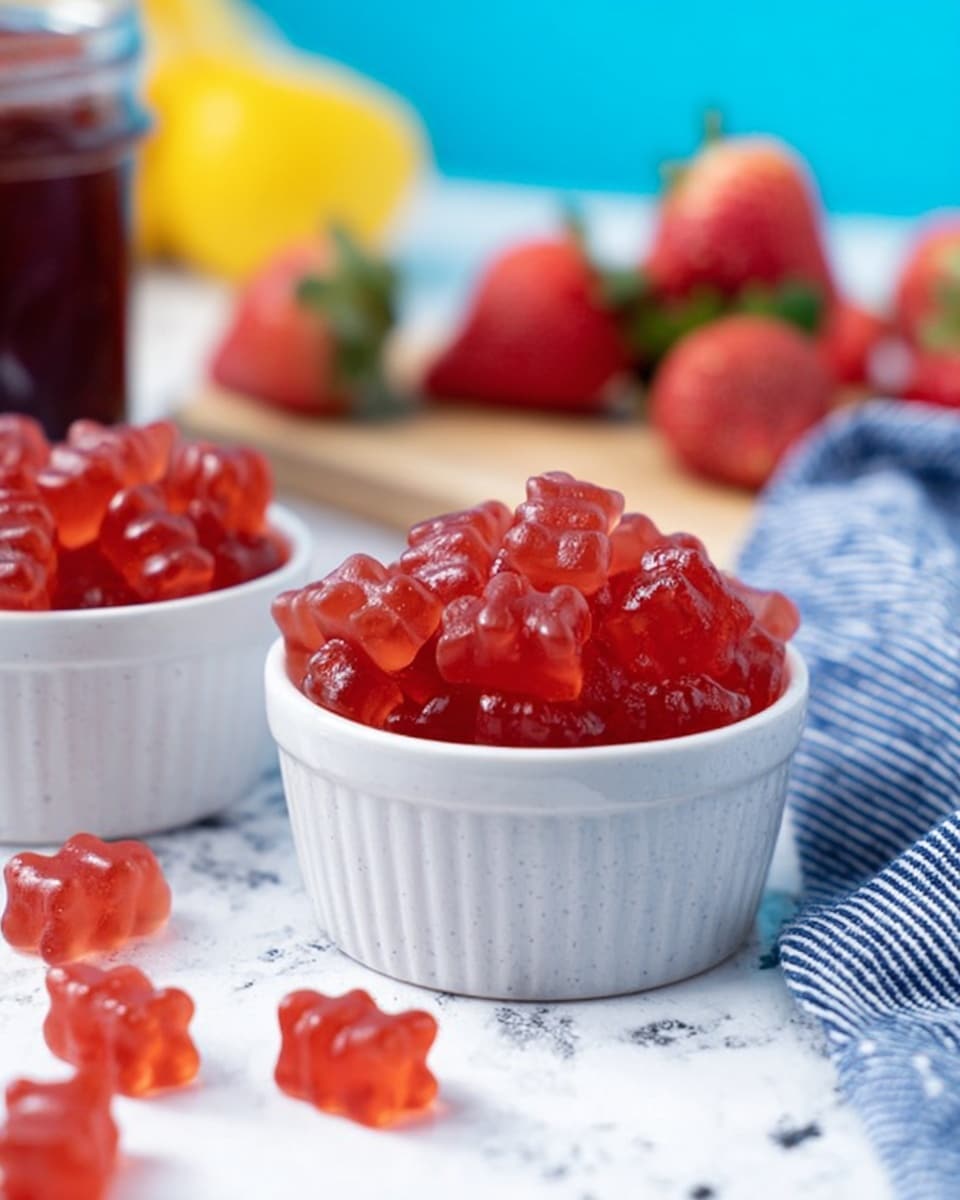
Once the gummies have fully solidified, gently remove them from the molds. They should release easily, revealing perfectly shaped strawberry gummy bears ready for snacking.
Step 6: Enjoy Your Homemade Treats
Dig in immediately or store your gummies to share with friends and family. These treats are incredibly rewarding to make and even better to eat!
How to Serve Homemade Strawberry Gummy Bears Recipe
Garnishes
While these gummies are perfect on their own, you can elevate them by tossing the gummy bears in a little granulated sugar or citric acid powder for a tangy sparkle. It adds a lovely texture contrast and makes the strawberries pop even more.
Side Dishes
Serve your gummy bears alongside a fresh fruit platter for a vibrant display of flavors and textures. They also work wonderfully as playful additions on top of cupcakes or alongside yogurt parfaits, lending a whimsical, fruity surprise.
Creative Ways to Present
Present your Homemade Strawberry Gummy Bears Recipe in mini glass jars tied with twine for party favors or pack them in decorative cellophane bags for a sweet gift. You can also layer assorted flavored gummies in a clear container to create a colorful candy mosaic.
Make Ahead and Storage
Storing Leftovers
If you have leftover gummies, store them in an airtight container in the refrigerator. This will keep them fresh and chewy for up to 2 weeks, so you can enjoy bites of happiness anytime.
Freezing
Freezing gummy bears isn’t recommended as it can change the texture once thawed, making them less enjoyable. They’re best enjoyed fresh or well-chilled from the fridge.
Reheating
Reheating isn’t necessary since gummies are meant to be enjoyed cold or at room temperature. Simply take them out of the refrigerator a few minutes before serving if you want to soften them slightly.
FAQs
Can I use other fruits instead of strawberries?
Absolutely! This Homemade Strawberry Gummy Bears Recipe is versatile, and you can substitute strawberries with raspberries, blueberries, or even mangoes to create exciting flavor variations.
Is raw honey necessary or can I use a different sweetener?
Raw honey adds a natural sweetness and depth of flavor, but you can substitute with maple syrup or agave nectar if you prefer. Avoid refined sugars to keep the gummy bears healthy and flavorful.
How firm will these gummy bears be compared to store-bought ones?
Your homemade version will be slightly softer and less chewy than commercial gummies since they use different gelatin ratios and additives. That softness is part of their charm, offering a fresh and natural bite.
Can I make these vegan or vegetarian?
Traditional gelatin comes from animal sources, so for a vegan alternative, consider using agar-agar powder, although the texture will change somewhat. Experimenting is key!
Do I need special molds for gummy bears?
While gummy bear molds are great for the classic shape, any silicone candy molds will work perfectly for this recipe and make the process fun and easy.
Final Thoughts
Making your own gummy bears at home with this Homemade Strawberry Gummy Bears Recipe is not only easy but incredibly satisfying. Every chewy, fruity bite reminds you of the joy in crafting something delicious with your own two hands. Whether for a party, a healthy snack, or just because, this recipe is sure to become one of your favorites to share and enjoy. So go ahead, dive in, and savor the sweet success of these charming strawberry gummy bears!
PrintHomemade Strawberry Gummy Bears Recipe
Homemade Strawberry Gummy Bears are a fun and delicious treat made from fresh strawberries, honey, and gelatin. These gummy bears are naturally sweetened, free from artificial colors and flavors, and easy to make with just a few simple ingredients. Perfect for a healthy snack or a fun project with kids, these chewy candies can be customized with your favorite fruits and enjoyed guilt-free.
- Prep Time: 10 minutes
- Cook Time: 10 minutes
- Total Time: 30 minutes
- Yield: About 40 gummy bears (depending on mold size)
- Category: Dessert
- Method: Stovetop
- Cuisine: American
- Diet: Low Fat
Ingredients
Fruit Mixture
- 2 cups of strawberries, diced (or any fruit of choice)
- 2 tablespoons of raw honey
- 1 tablespoon of lemon juice
Gelatin
- 2 (0.25 ounce) boxes of unflavored gelatin
Equipment
- Gummy bear mold
Instructions
- Prepare fruit puree. Place diced strawberries, lemon juice, and raw honey in a blender. Blend until the strawberries are fully broken down into a smooth mixture. If the fruit contains many seeds, strain the juice through a fine mesh strainer to remove seeds for smoother gummies.
- Heat and dissolve gelatin. Pour the strained juice into a saucepan and heat over medium heat. Slowly whisk in the unflavored gelatin while warming the mixture and bring it to a gentle boil. Stir constantly to ensure the gelatin fully dissolves without clumping. Once boiling, remove the pan from heat.
- Fill the molds. Using a dropper or a food-safe squeeze bottle, carefully fill the gummy bear molds with the warm gelatin mixture. Fill each cavity slowly to avoid spills and bubbles.
- Chill to set. Place the filled molds in the refrigerator for about 20 minutes to allow the gummies to set firmly. To keep the remaining gelatin mixture warm and fluid while molding, keep the squeeze bottle in hot water or keep the saucepan on low heat.
- Remove gummies from molds. Once set, gently pop the gummy bears out of the molds by pressing carefully from the back. They should come out easily and retain their shape.
- Enjoy your homemade gummy bears! Serve immediately or store in an airtight container in the refrigerator for several days to enjoy later.
Notes
- You can substitute strawberries with other fruits like raspberries, blueberries, or mango for different flavors.
- Straining the fruit mixture is recommended to avoid seeds in the candies for a smoother texture.
- If you prefer vegan gummies, substitute gelatin with agar-agar, but the texture will differ.
- Adjust sweetness by varying the amount of raw honey to taste.
- Store gummies in a cool place or refrigerator to maintain firmness.

