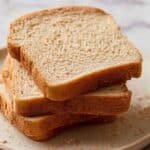
If you’ve ever felt overwhelmed by the idea of baking gluten-free bread at home, I have fantastic news for you. This Easy Gluten-Free Bread Recipe delivers a soft, flavorful loaf without the fuss or frustration, making it perfect for both beginners and seasoned bakers alike. It’s light, moist, and has that delightful crumb you crave, all while being completely free of gluten. Whether you’re avoiding gluten for health reasons or simply want to enjoy homemade bread that rises perfectly every time, this recipe is about to become your new best friend in the kitchen.
Ingredients You’ll Need
This recipe uses a few simple, easy-to-find ingredients that each play a crucial role in achieving that perfect gluten-free bread texture and taste. From the flour blend to the egg whites, every component contributes to creating a loaf that’s tender, well-risen, and full of flavor.
- 2 1/2 cups all-purpose gluten-free flour: This is the foundation of your bread, providing structure and body.
- 1 teaspoon xanthan gum: Adds elasticity and chewiness; skip if your flour already contains it.
- 1 teaspoon gluten-free baking powder: Helps the bread rise and become light.
- 1 packet rapid rise/instant yeast (2 1/4 teaspoons): Essential for the dough’s rise and airy texture.
- 1/4 cup extra virgin olive oil: Brings moisture and a subtle richness.
- 1/4 cup honey: Adds a touch of natural sweetness; agave nectar or maple syrup works too.
- 1 teaspoon apple cider vinegar: Enhances flavor and helps with dough rise.
- 1 1/2 cups warm water (100-110°F): Activates yeast and combines the ingredients smoothly.
- 3 egg whites (room temperature): Provide structure and lighten the dough.
- 1 teaspoon salt: Balances flavors and strengthens gluten-free dough.
How to Make Easy Gluten-Free Bread Recipe
Step 1: Prepare your pan and preheat the oven
Start by greasing a 9-inch x 5-inch bread pan or a small Pullman loaf pan with gluten-free cooking spray to prevent sticking. Move your oven rack to the middle position and preheat the oven to 350°F. This simple preparation ensures your bread bakes evenly and comes out clean, ready for slicing.
Step 2: Mix the dry ingredients
In a large bowl, combine your gluten-free flour, baking powder, and instant yeast. Stir them well to distribute the rising agents evenly throughout the flour. This step is key to a consistent texture and proper rise in your bread.
Step 3: Add wet ingredients and mix
Pour in the olive oil, honey, apple cider vinegar, and warm water to the flour mixture. Use a mixer on low speed (paddle attachment recommended) and mix for about a minute until all ingredients come together. This creates the moist base of your dough before adding egg whites and salt.
Step 4: Incorporate egg whites and salt
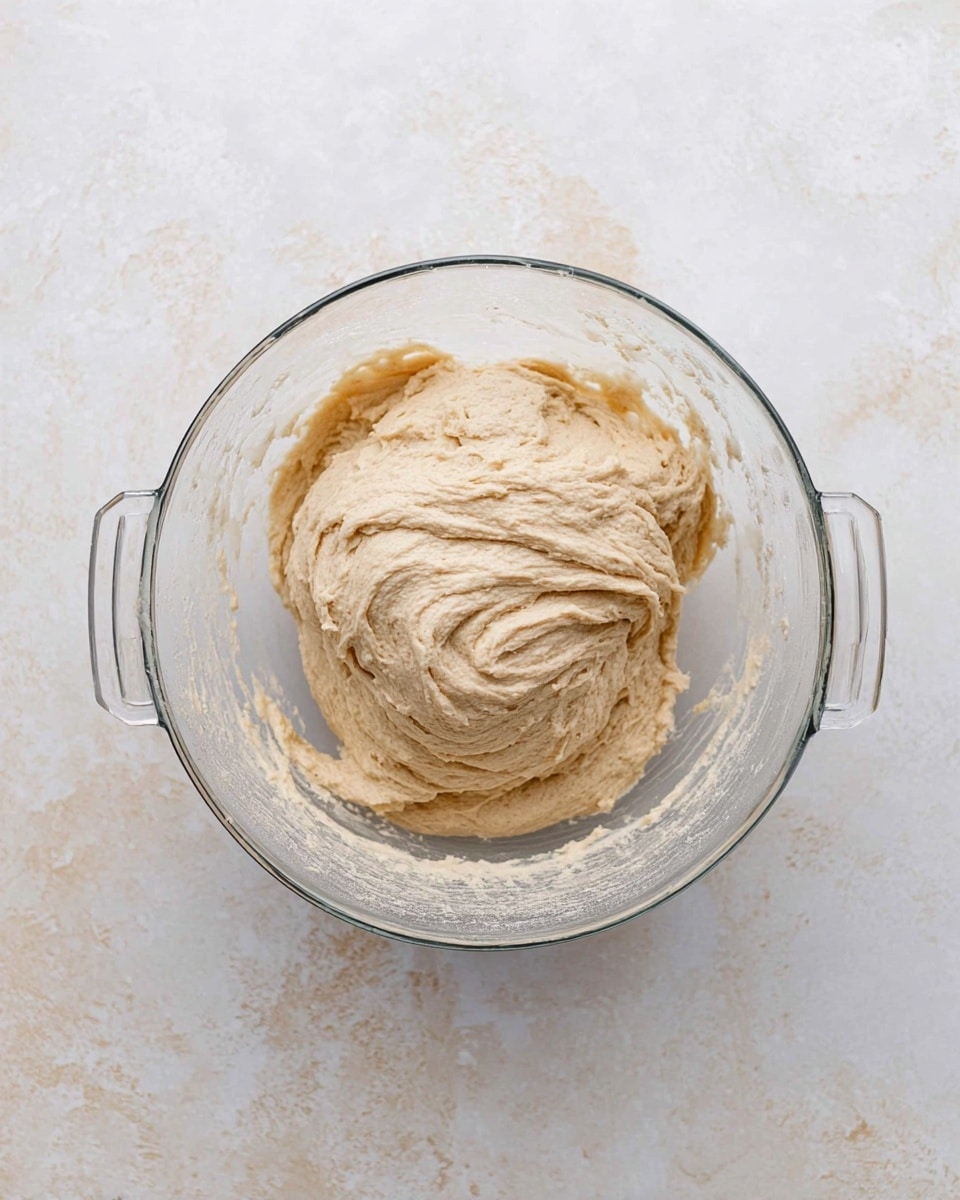
Add the room temperature egg whites and salt to the bowl. Mix on medium speed for another minute until the dough resembles a thick cake batter. These egg whites add lift and structure without weighing down the final loaf.
Step 5: Let the dough rise
Pour the dough into your greased bread pan and cover it tightly with plastic wrap sprayed lightly with cooking spray (to prevent sticking). Then, drape a kitchen towel over it. Place the pan in a warm spot to rise for 30 minutes. This rise time gives the bread its fluffy texture and helps develop flavor.
Step 6: Bake the bread
Slide the bread onto the middle oven rack and bake for 30 minutes at 350°F. You’ll know it’s done when the loaf turns a beautiful golden brown and an instant-read thermometer reads between 205°F and 210°F inside. Baking at the right temperature ensures that moist, yet fully cooked crumb you’re after.
Step 7: Cool before slicing
After baking, let the bread cool in the pan for about 10 minutes. Then transfer it to a cooling rack to cool completely. This step prevents steam from settling in the pan and making the bottom soggy. Patience here means perfect texture when you finally slice into your loaf.
Step 8: Slice carefully
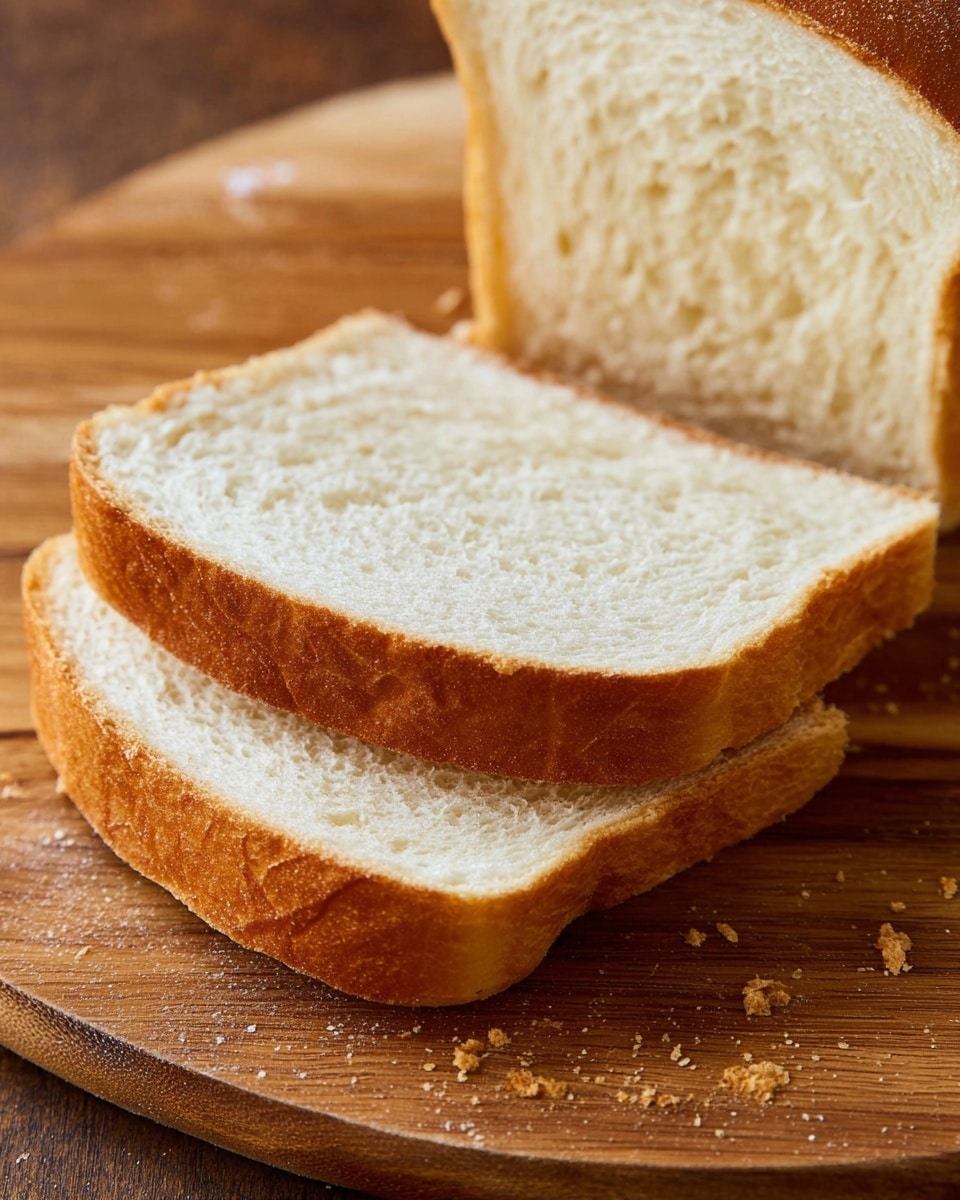
Using a serrated knife works best to cut through this gluten-free bread without compressing it. Avoid smooth knives when slicing so your loaf keeps its lovely airy structure intact.
How to Serve Easy Gluten-Free Bread Recipe
Garnishes
While the bread is delicious on its own, adding a light spread of herb butter, garlic oil, or a drizzle of olive oil with sea salt can elevate the experience. Fresh herbs like rosemary or thyme sprinkled on top before baking also add a fragrant touch and extra flavor dimension.
Side Dishes
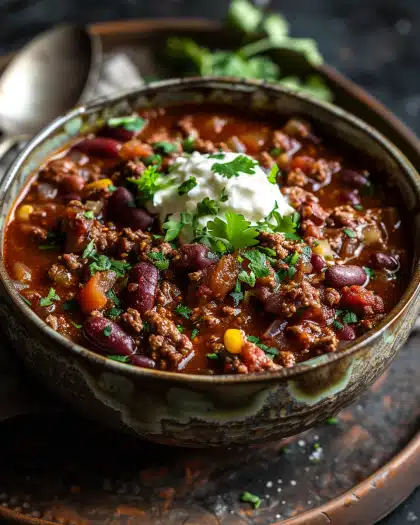
This bread pairs wonderfully with soups, stews, or fresh salads. Its tender crumb and mild flavor make it an excellent companion for creamy tomato soup, hearty chili, or a crisp Caesar salad. It’s also amazing for building gluten-free sandwiches that hold together beautifully.
Creative Ways to Present
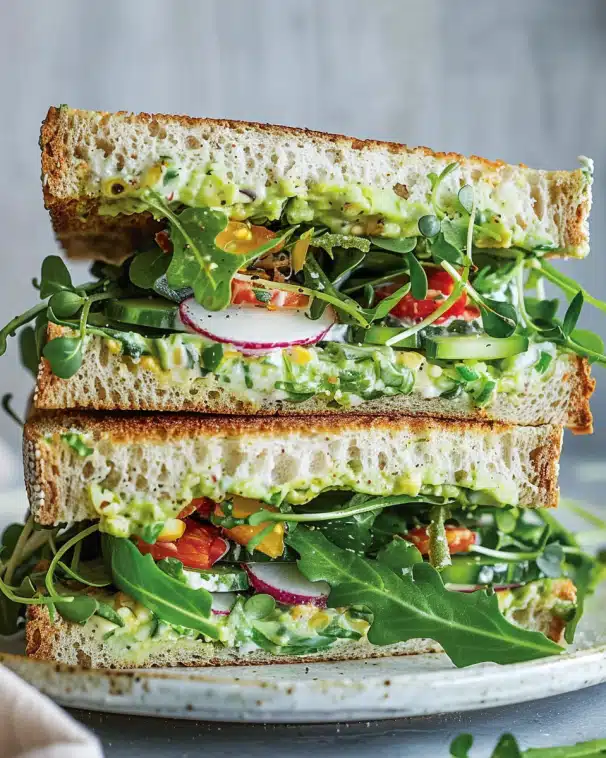
Try toasting slices and topping them with smashed avocado and chili flakes for a trendy brunch option. For a sweeter twist, spread some almond butter and sliced bananas for an energizing snack. You can even use this gluten-free bread to make a fancy bread pudding or strata that will wow your friends and family.
Make Ahead and Storage
Storing Leftovers
Once completely cooled, store leftover bread in an airtight container or a bread box on your countertop. Keeping it whole rather than pre-sliced helps maintain freshness and keeps the crumb moist. You can expect it to stay good for about 2 to 3 days at room temperature.
Freezing
You can freeze this Easy Gluten-Free Bread Recipe to keep it fresh longer. Wrap the loaf tightly in plastic wrap, then in foil or freezer paper, and place it in a freezer bag. Store it for up to three months. When ready to enjoy, thaw in the refrigerator overnight to preserve the best texture and flavor.
Reheating
To refresh your bread, lightly toast individual slices or warm the loaf wrapped in foil at 300°F for 10-15 minutes. This restores the crust’s crispness and softens the crumb, so it feels just like freshly baked all over again.
FAQs
Can I use any gluten-free flour blend for this recipe?
Yes! Just make sure your blend is suitable for baking and check if it already contains xanthan gum. If it does, omit the xanthan gum listed in the recipe so your bread doesn’t become too dense.
Why do I need to use egg whites in gluten-free bread?
Egg whites add structure and moisture while helping the dough rise. They contribute to a light and airy texture, which gluten-free flours can sometimes lack without gluten’s network.
Can I make this bread vegan?
To turn this recipe vegan, replace the egg whites with a suitable egg replacer like aquafaba (chickpea water) and use maple syrup or agave nectar instead of honey. Keep in mind texture may vary slightly.
What’s the best way to prevent gluten-free bread from drying out?
Store your bread in an airtight container at room temperature and avoid pre-slicing until ready to eat. Also, wrapping it properly when freezing helps lock in moisture, keeping your bread soft longer.
Can I add seeds or nuts to this bread?
Definitely! Adding seeds like sunflower or pumpkin on top before baking gives lovely crunch and extra nutrition. You can also fold chopped nuts into the dough for a hearty twist.
Final Thoughts
This Easy Gluten-Free Bread Recipe is truly a game changer for anyone craving fresh-baked bread without gluten. It’s reliable, simple, and yields a loaf that’s just as satisfying as traditional bread. Give it a try, and I promise you’ll feel proud every time you slice into that golden, tender loaf right from your own oven.
PrintEasy Gluten-Free Bread Recipe
This easy gluten-free bread recipe yields a moist, tender loaf perfect for sandwiches or toast. Using a blend of gluten-free flour and simple ingredients like olive oil, honey, and egg whites, it produces a flavorful bread with a golden crust and soft crumb. Ideal for those who need to avoid gluten but still want to enjoy homemade bread.
- Prep Time: 15 minutes
- Cook Time: 30 minutes
- Total Time: 1 hour 4 minutes
- Yield: 16 servings
- Category: Bread
- Method: Baking
- Cuisine: American
- Diet: Gluten Free
Ingredients
Dry Ingredients
- 2 1/2 cups all-purpose gluten-free flour
- 1 teaspoon xanthan gum (omit if your flour blend already contains it)
- 1 teaspoon gluten-free baking powder
- 1 packet rapid rise/instant yeast (2 1/4 teaspoons)
- 1 teaspoon salt
Wet Ingredients
- 1/4 cup extra virgin olive oil
- 1/4 cup honey (or agave nectar or maple syrup)
- 1 teaspoon apple cider vinegar
- 1 1/2 cups warm water (100-110°F)
- 3 egg whites (from large eggs, room temperature)
Instructions
- Prepare Pan and Oven: Spray a 9-inch x 5-inch bread pan or a 9-inch x 4-inch small Pullman loaf pan with gluten-free cooking spray. Move the oven rack to the middle position and preheat the oven to 350°F.
- Mix Dry Ingredients: In a large bowl, combine the gluten-free flour, baking powder, and instant yeast. Stir well to distribute the ingredients evenly.
- Add Wet Ingredients: Add the olive oil, honey, apple cider vinegar, and warm water to the flour mixture. Using a stand mixer with the paddle attachment or a hand mixer, mix on low speed for 1 minute until combined.
- Add Egg Whites and Salt: Add the room temperature egg whites and salt to the dough and mix on medium speed for 1 minute. The batter should resemble a thick cake batter at this stage.
- First Rise: Pour the batter into the prepared bread pan. Spray plastic wrap with gluten-free cooking spray and cover the top of the pan. Then cover with a kitchen towel and allow the dough to rise in a warm place for 30 minutes.
- Bake the Bread: Place the bread on the middle oven rack and bake at 350°F for 30 minutes. The bread is done when the crust is golden brown and the internal temperature reaches between 205-210°F.
- Cool Loaf: Let the bread cool in the pan for 10 minutes, then transfer it to a cooling rack. Cooling the bread in the pan fully can cause sogginess due to trapped steam. Allow the loaf to cool completely before slicing.
- Slice: Use a serrated knife to slice the bread gently. Avoid using a smooth-blade knife to prevent squishing the loaf.
- Store Leftovers: Once completely cooled, store leftover bread in an airtight container at room temperature. Do not pre-slice the bread before storing to maintain freshness.
- Freeze for Longer Storage: Wrap the cooled loaf tightly in plastic wrap, then in foil or freezer paper, and place in a freezer bag. Freeze up to 3 months. Thaw overnight in the refrigerator before use.
Notes
- If your gluten-free flour blend contains xanthan gum, omit it from the ingredients.
- Warm water temperature should be between 100-110°F for optimal yeast activation.
- Use the paddle attachment on a stand mixer instead of the dough hook to achieve the correct batter texture.
- Using a small Pullman loaf pan (9-inch x 4-inch) is highly recommended for the best loaf shape and texture.
- Do not slice the bread until completely cooled to prevent crumbling and squishing.
- Store bread at room temperature and avoid pre-slicing to extend freshness.

