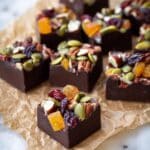
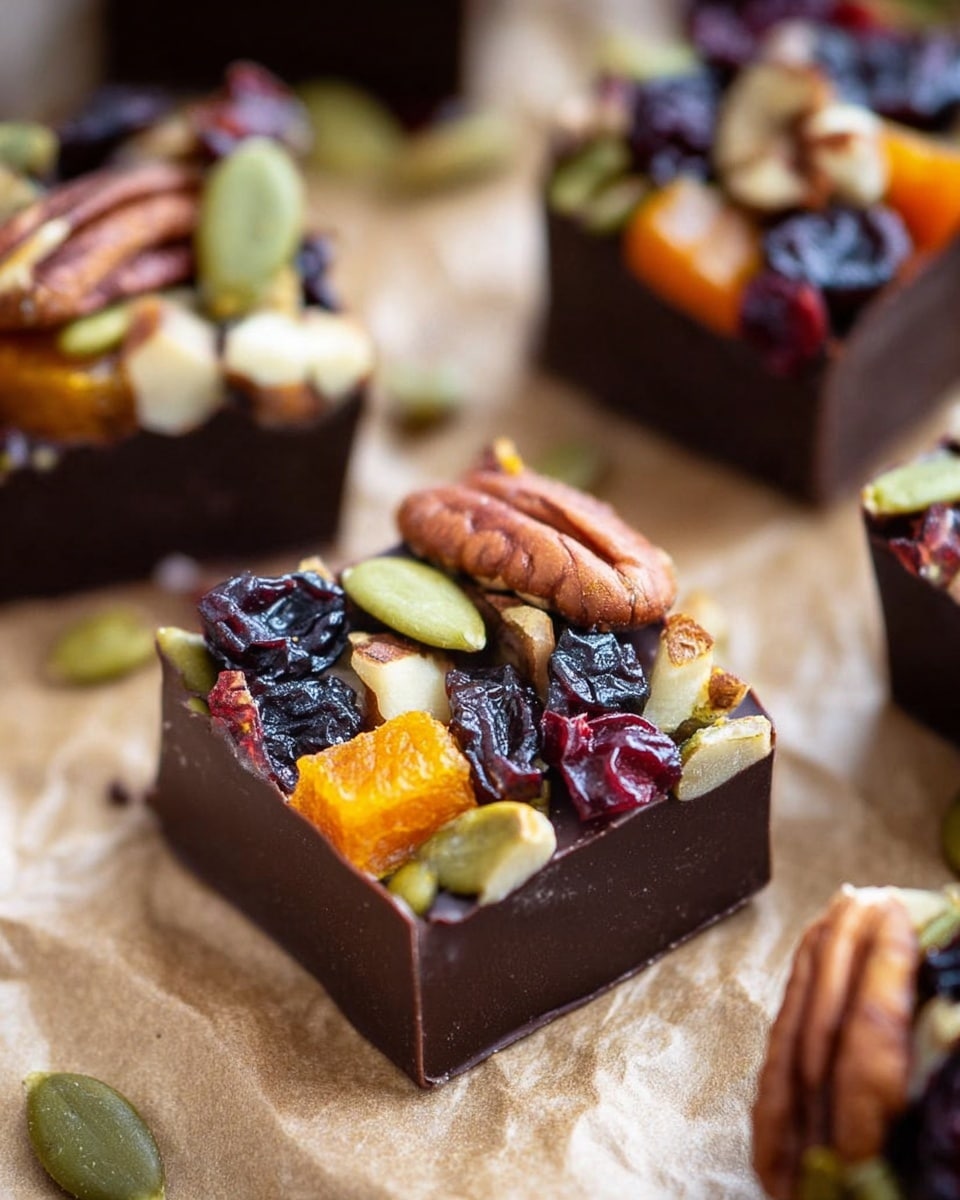
If you are looking for a delightful treat that combines the rich, smooth taste of dark chocolate with the satisfying crunch of nuts and bursts of fruity sweetness, then this Fruit and Nut Homemade Chocolates Recipe is about to become your new favorite indulgence. These handcrafted chocolates bring together toasted walnuts, pecans, vibrant dried cranberries, pumpkin seeds, and a hint of candied ginger, all enveloped in velvety dark chocolate. The balance of textures and flavors makes every bite a heavenly experience perfect for sharing or savoring on your own.
Ingredients You’ll Need
Gathering the right ingredients is key to nailing this Fruit and Nut Homemade Chocolates Recipe. Each component is simple but plays an essential role in creating a symphony of taste, texture, and color that will impress your friends and family.
- 12 ounces dark chocolate: Provides a rich, bittersweet foundation that melts smoothly and holds the mix-ins perfectly.
- 1/4 cup chopped walnuts: Adds a buttery crunch and earthy flavor that complements the chocolate beautifully.
- 1/4 cup chopped pecans: Offers a slightly sweet, nutty taste that elevates the overall texture.
- 1/2 cup dried cranberries: Brings a vibrant tartness and chewy bite, balancing the chocolate’s richness.
- 3 tbsp pumpkin seeds: Introduces a subtle crunch and a nutty flavor boost, plus a pop of green color.
- 2 tbsp diced candied ginger: Infuses a warm, spicy sweetness for an unexpected flavor twist.
How to Make Fruit and Nut Homemade Chocolates Recipe
Step 1: Toast the Nuts
Start by preheating your oven to 350°F. Spread the walnuts and pecans evenly on a baking sheet and toast them for about 5 minutes. This step transforms the nuts by enhancing their natural oils and crunch, giving your chocolates that perfect toasted flavor. Once toasted, set them aside to cool before chopping.
Step 2: Prepare Your Mix-Ins
While the nuts cool, chop your dried cranberries and candied ginger into small, bite-sized pieces. This ensures each chocolate bite gets a lovely distribution of fruity sweetness and spicy zing.
Step 3: Melt the Chocolate
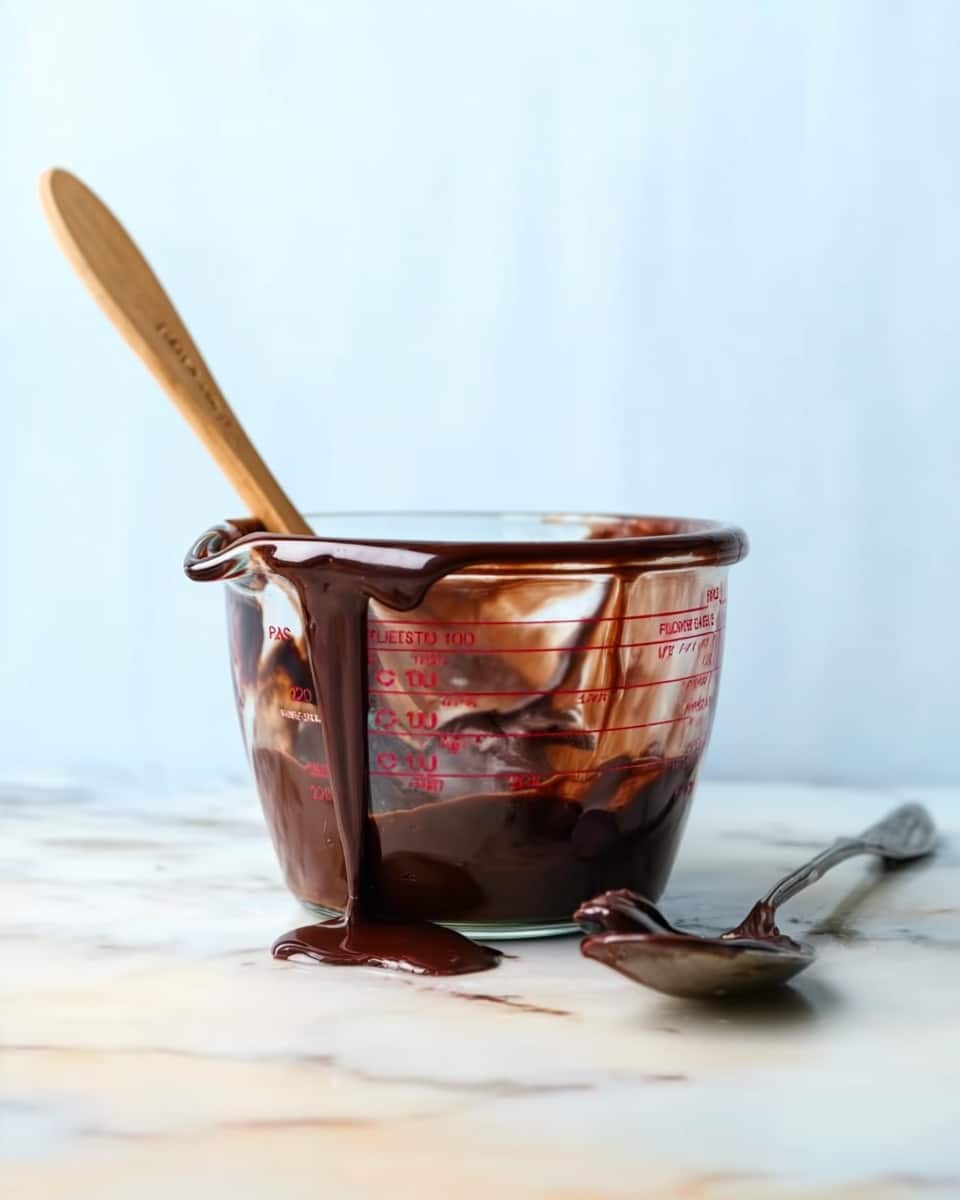
Place the dark chocolate in a microwave-safe measuring cup or bowl. Microwave it at half power for 1 minute, then stir. Continue microwaving in 15-second intervals, stirring each time until the chocolate is completely melted and smooth without any lumps. This gentle melting process prevents burning, preserving that silky texture that’s crucial for great homemade chocolates.
Step 4: Prepare Your Molds
Lightly spray small silicone ice cube trays with a non-stick baking spray. These trays are perfect for shaping perfectly sized chocolates that pop out easily without breaking.
Step 5: Assemble and Set
Divide the melted chocolate evenly among the silicone trays. Quickly top each piece with a generous sprinkle of the toasted nuts, dried cranberries, pumpkin seeds, and candied ginger. Press them gently into the chocolate to ensure they stick. Now, place the trays in the refrigerator and chill for at least 2 hours until the chocolates are completely set and firm.
Step 6: Enjoy and Store
Pop the set chocolates out of the trays carefully. Store them in an airtight container to keep all their freshness and texture intact. These fruit and nut homemade chocolates can be kept at room temperature or refrigerated if you prefer a cooler treat.
How to Serve Fruit and Nut Homemade Chocolates Recipe
Garnishes
To elevate the presentation, try dusting your chocolates lightly with cocoa powder or a sprinkle of finely chopped nuts before serving. You can also add a tiny drizzle of white chocolate on top for a professional touch that will wow your guests.
Side Dishes
These Fruit and Nut Homemade Chocolates Recipe treats pair wonderfully with a cup of fresh coffee or a warming herbal tea. They also make an excellent companion to fresh fruit platters or light desserts like vanilla ice cream to create a balanced and beautiful dessert spread.
Creative Ways to Present
Present your chocolates in decorative gift boxes or wrap them individually in colorful wax paper tied with ribbons for a lovely homemade gift. Layer them neatly in glass jars for a charming kitchen display or as a centerpiece during holiday gatherings.
Make Ahead and Storage
Storing Leftovers
Your homemade chocolates stay fresh best in an airtight container at room temperature, away from direct sunlight and moisture. This prevents the chocolate from developing a white “bloom” and keeps the nuts crunchy. For longer storage, refrigeration works well, just bring them to room temperature before serving for the best flavor.
Freezing
For longer preservation, you can freeze these chocolates. Place them in an airtight container or freezer bag with wax paper between layers to avoid sticking. When ready to enjoy, thaw them slowly in the refrigerator overnight to maintain their texture and flavor integrity.
Reheating
Since these are chocolates, reheating isn’t typically recommended. However, if you want to slightly soften them before serving, just let them sit at room temperature for about 15-20 minutes. Avoid heating them directly as they may lose their texture or melt unevenly.
FAQs
Can I use milk chocolate instead of dark chocolate for this recipe?
Absolutely! Milk chocolate will create a sweeter, creamier treat. Just be sure to use a good-quality chocolate to ensure it melts smoothly and maintains the right texture.
What nuts can I substitute if I’m allergic to walnuts or pecans?
You can replace them with almonds, cashews, or even hazelnuts depending on your preference and allergies. Toast them similarly to bring out their flavors before adding to the chocolates.
Can I add other dried fruits besides cranberries?
Definitely! Apricots, cherries, raisins, or chopped dates work beautifully. Mixing different fruits can add a lovely variety of flavors and textures to this Fruit and Nut Homemade Chocolates Recipe.
Is it possible to make this recipe vegan?
Yes, just swap the dark chocolate with dairy-free or vegan chocolate options. Ensure your dried fruits and candied ginger have no added animal products, and you’re all set for a vegan-friendly batch.
How long do these chocolates keep fresh?
If stored properly in an airtight container at room temperature, they generally stay fresh for up to two weeks. Refrigeration can extend their shelf life to about a month.
Final Thoughts
There is something truly magical about making your own Fruit and Nut Homemade Chocolates Recipe. It’s a simple yet incredibly rewarding way to bring luscious chocolate and wholesome ingredients together. Whether you’re treating yourself or gifting loved ones, these chocolates are sure to add a burst of joy to any occasion. So grab your ingredients, get melting, and savor every bite of this delightful homemade treasure!
PrintFruit and Nut Homemade Chocolates Recipe
Delight in these easy-to-make Fruit and Nut Homemade Chocolates, combining rich dark chocolate with toasted nuts, dried cranberries, pumpkin seeds, and candied ginger. Perfectly portioned in bite-sized treats, they offer a deliciously crunchy and fruity snack or gift, set quickly with no tempering required.
- Prep Time: 6 minutes
- Cook Time: 5 minutes
- Total Time: 11 minutes
- Yield: 30 servings
- Category: Dessert
- Method: No-Cook
- Cuisine: American
- Diet: Vegetarian
Ingredients
Chocolate Base
- 12 ounces dark chocolate (melted)
Nuts and Seeds
- 1/4 cup chopped walnuts
- 1/4 cup chopped pecans
- 3 tbsp pumpkin seeds
Fruits and Extras
- 1/2 cup dried cranberries (or dried fruit of choice)
- 2 tbsp diced candied ginger
Instructions
- Toast Nuts: Preheat your oven to 350°F. Spread chopped walnuts and pecans on a baking sheet and toast for 5 minutes to enhance their flavor. Remove and set aside to cool.
- Prepare Fruit and Ginger: Chop the dried cranberries (or your choice of dried fruit) and candied ginger into small chunks. Set aside with the toasted nuts.
- Melt Chocolate: Place the dark chocolate into a microwave-safe measuring cup. Microwave at half power for 1 minute, then stir thoroughly. Continue microwaving in 15-second increments, stirring in between, until the chocolate is fully melted and smooth with no lumps.
- Prepare Molds: Lightly spray small silicone ice cube trays with non-stick baking spray to prevent sticking.
- Assemble Chocolates: Pour the melted chocolate evenly into the silicone trays. Sprinkle the toasted nuts, dried fruit, pumpkin seeds, and candied ginger over the top, pressing gently to embed them into the chocolate.
- Chill and Set: Refrigerate the trays for about 2 hours until the chocolates are completely set and firm.
- Unmold and Store: Carefully pop the chocolates out of the silicone trays. Store them in an airtight container. They can be kept at room temperature or refrigerated for a longer shelf life.
Notes
- Use any dried fruit of your choice such as apricots, cherries, or blueberries for variation.
- Ensure chocolate is smoothly melted to avoid grainy texture.
- Silicone molds are preferred for easy removal; alternatively, use lined mini muffin tins.
- Store chocolates away from heat and sunlight to prevent melting or bloom.
- Optional: sprinkle a pinch of sea salt on top before chilling for a sweet-salty flavor.

