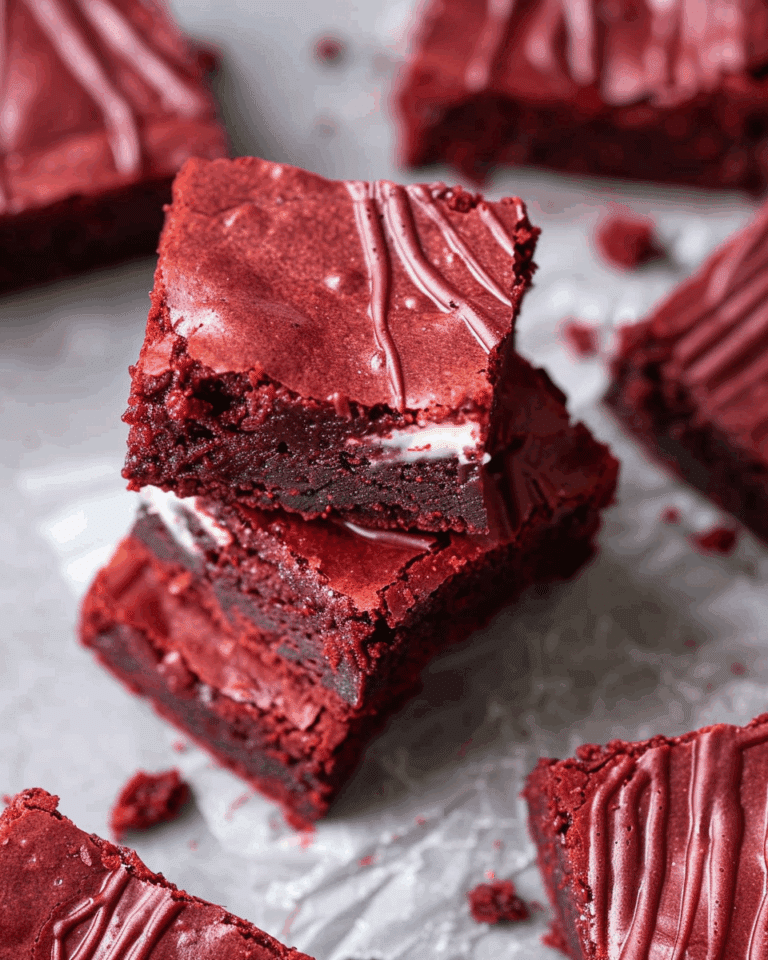
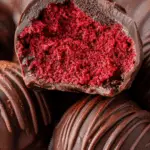
If you are looking to whip up a delightful treat that combines the classic charm of red velvet cake with bite-sized convenience, this Red Velvet Cake Balls Recipe is an absolute must-try. These little gems balance the rich, velvety texture of cake with the creamy sweetness of a luscious frosting, all wrapped in a smooth chocolate coating. Whether you’re preparing for a party, holiday, or just a special treat, these cake balls are guaranteed to impress with their vibrant color and melt-in-your-mouth taste.
Ingredients You’ll Need
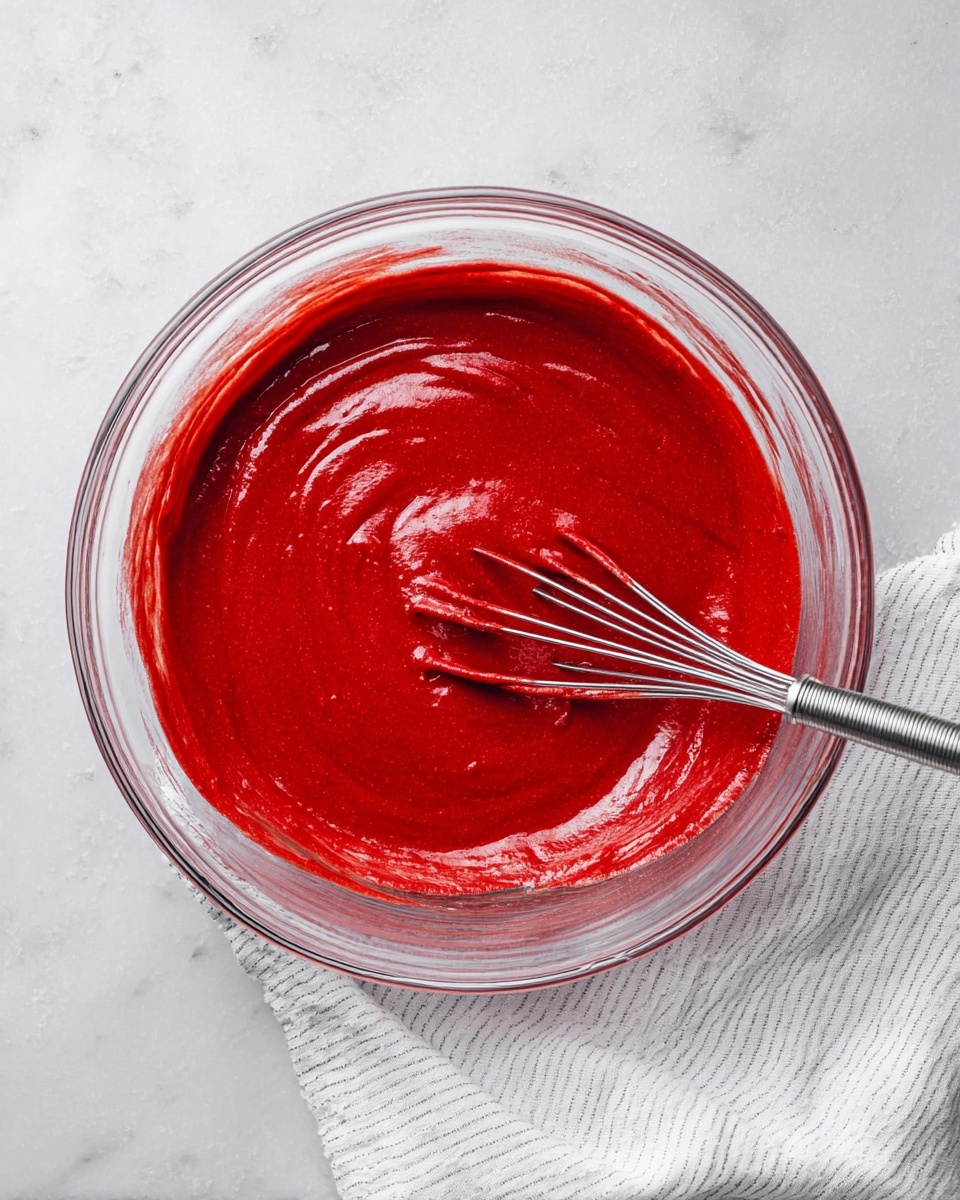
Getting the ingredients together for this Red Velvet Cake Balls Recipe is refreshingly simple, yet each one plays a crucial role in bringing it all together. From the base cake mix that gives the iconic flavor to the cream cheese mixture that adds smooth richness, every element elevates the final bite.
- 1 box red velvet cake mix: Provides the signature flavor and vibrant red color that makes these cake balls special.
- 1 cup chocolate chips or chunks: Choose classic or white chocolate for a luscious coating that perfectly complements the cake inside.
- 1 8 oz cream cheese (room temperature): Adds creamy tang that balances sweetness and creates a smooth filling.
- 1 cup heavy cream: Used to whip the frosting mixture to velvety perfection.
- 1 cup powdered sugar: Sweetens the frosting while ensuring a smooth texture without grittiness.
- 1 tsp vanilla extract: Enhances the overall flavor profile with warm, aromatic notes.
How to Make Red Velvet Cake Balls Recipe
Step 1: Prepare the Cream Cheese
Start by setting your cream cheese out to reach room temperature. This simple step ensures it blends effortlessly into the frosting mixture later on, giving you a smooth and creamy texture without lumps.
Step 2: Bake the Red Velvet Cake
Preheat your oven to 350 degrees and mix the cake batter according to the instructions on the box. Pour the batter into a greased 9×13 cake pan and bake as directed. Once baked, allow the cake to cool for at least 15 minutes—a crucial cooling phase that prevents the cake crumbs from turning soggy when mixed with frosting.
Step 3: Prepare the Frosting Mixture
In a medium bowl, combine the heavy cream, softened cream cheese, powdered sugar, and vanilla extract. Whisk or use a mixer for 2 to 3 minutes until the mixture becomes thick, smooth, and lump-free. This creamy frosting will bind the cake crumbs together, giving you that irresistible pasty texture ideal for shaping.
Step 4: Combine Cake and Frosting
Carefully crumble your cooled cake into tiny pieces—finger-sized crumbs will do just fine. Pour your prepared frosting mixture over the crumbs and mix gently with a spoon or spatula until everything is well combined. The mixture should be sticky enough to hold its shape when formed into balls, but not overly wet.
Step 5: Form the Cake Balls
Line a baking pan with wax paper, parchment paper, or foil for easy cleanup. Using a scoop or your hands, form the cake mixture into one-inch balls. Once all the balls are shaped, place them in the freezer for about 10 minutes—this chilling step helps them stay firm for dipping.
Step 6: Melt the Chocolate
While the cake balls chill, melt the chocolate in the microwave. Heat in short 25-second increments, stirring each time until fully melted and silky smooth. This method prevents burning and ensures a perfect, glossy coating.
Step 7: Dip and Decorate
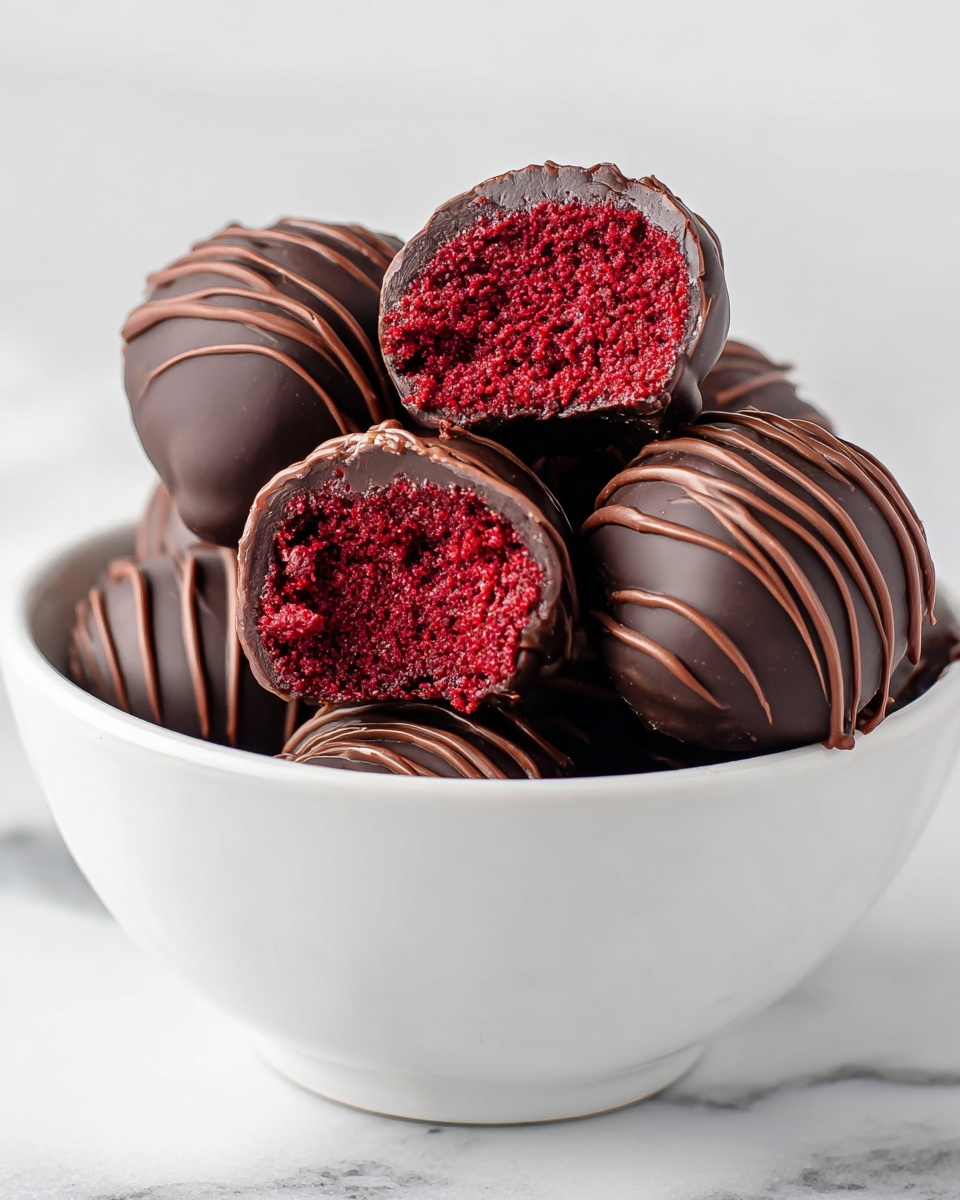
Remove the cake balls from the freezer and dip each one into the melted chocolate, making sure it is completely coated. Place them back onto your lined pan. If needed, chill in the freezer for a few minutes to let the chocolate harden. Use any leftover chocolate to drizzle decoratively over the cake balls for an elegant touch.
How to Serve Red Velvet Cake Balls Recipe
Garnishes
Add a bit of flair by sprinkling crushed nuts, edible glitter, or colored sprinkles on top of the chocolate before it sets. These little details make your cake balls feel festive and extra special.
Side Dishes
These cake balls pair wonderfully with a simple glass of cold milk or a creamy coffee latte. For more indulgence, serve alongside fresh berries or a dollop of whipped cream for a balanced dessert experience.
Creative Ways to Present
Try displaying your Red Velvet Cake Balls Recipe on decorative sticks as cake pops for easy serving. You can also arrange them on a tiered dessert stand or nestle them in mini cupcake liners to add charm and make sharing even easier.
Make Ahead and Storage
Storing Leftovers
Keep your cake balls fresh by storing them in an airtight container in the refrigerator. They will stay tasty and moist for up to 2 weeks—making them perfect for prepping ahead of time.
Freezing
If you want to save some for later, freeze the cake balls in a single layer on a baking sheet first, then transfer to a freezer-safe container or bag. This prevents them from sticking together and keeps them fresh for up to 3 months.
Reheating
There is no need to reheat these treats. Simply thaw frozen cake balls in the refrigerator overnight and enjoy them at room temperature for the best texture and flavor.
FAQs
Can I use a homemade red velvet cake instead of box mix?
Absolutely! Using homemade red velvet cake will work perfectly and allow you to customize the flavor and texture, but ensure the cake is fully cooled before crumbling it for best results.
What if I don’t have cream cheese?
Cream cheese is key to the tangy smoothness in this recipe, but you can substitute with mascarpone cheese or a thick, high-quality yogurt for a slightly different, yet delicious, twist.
Can these cake balls be made with other cake flavors?
Yes! While this is a Red Velvet Cake Balls Recipe, feel free to experiment with chocolate, vanilla, or carrot cake for fun variations—the process remains the same.
How do I make sure the chocolate coating is smooth and doesn’t clump?
Melting chocolate in short bursts in the microwave and stirring between intervals helps keep it smooth. Using a gentle tempering method or adding a tiny bit of coconut oil can also help achieve a glossy finish.
Are these cake balls kid-friendly?
Definitely! Their fun size, sweet flavor, and colorful presentation make them a hit with kids—and adults alike. Plus, they’re a great way to share a homemade dessert without the mess of cutting and serving traditional cake.
Final Thoughts
There’s nothing quite like sharing a handmade treat that bursts with flavor in every bite, and this Red Velvet Cake Balls Recipe does just that. From the first vibrant red crumb to the last velvety chocolate coating, these cake balls bring joy and a little bit of magic to any occasion. So gather your ingredients and dive into this fun, delicious adventure—your taste buds will thank you!
PrintRed Velvet Cake Balls Recipe
Delicious and indulgent Red Velvet Cake Balls made with moist red velvet cake, creamy cream cheese frosting, and coated in rich melted chocolate. These bite-sized treats are perfect for parties, dessert tables, or anytime you crave a sweet, festive snack.
- Prep Time: 20 minutes
- Cook Time: 30 minutes
- Total Time: 50 minutes
- Yield: 40 servings
- Category: Dessert
- Method: Baking
- Cuisine: American
Ingredients
Cake
- 1 box red velvet cake mix (or any other flavor, but it won’t be red velvet)
- Ingredients as directed on the cake mix box (usually eggs, oil, and water)
Frosting
- 1 8 oz cream cheese, room temperature
- 1 cup heavy cream
- 1 cup powdered sugar
- 1 tsp vanilla extract
Coating
- 1 cup chocolate chips or chocolate chunks (can use white chocolate as alternative)
Instructions
- Prepare the Cream Cheese: Remove cream cheese from the fridge and set aside to come to room temperature, which will make mixing easier and achieve a smooth consistency.
- Bake the Cake: Preheat the oven to 350°F (175°C). In a large bowl, prepare the red velvet cake mix according to the instructions on the box, mixing all required ingredients. Pour the batter into a greased 9×13-inch cake pan and bake as directed on the box. Once baked, remove the cake from the oven and allow it to cool completely for at least 15 minutes to ensure it is firm enough to crumble.
- Make the Frosting Mixture: In a medium bowl, combine the heavy cream, room temperature cream cheese, powdered sugar, and vanilla extract. Use a whisk or electric mixer to blend for 2-3 minutes until the mixture thickens and becomes smooth without lumps.
- Combine Cake and Frosting: Crumble the cooled cake into fine crumbs using a fork or your hands. Pour the frosting mixture over the crumbs and mix thoroughly with a spoon or spatula until the mixture forms a thick, pasty dough.
- Form Cake Balls: Line a baking pan with wax paper, parchment paper, or foil. Using a scoop or your hands, roll the mixture into 1-inch balls and place them evenly spaced on the prepared pan. Once all balls are formed, freeze them for 10 minutes to firm up.
- Melt Chocolate: While the cake balls are chilling, melt the chocolate chips in the microwave in 25-second bursts, stirring between each until fully melted and smooth.
- Coat the Cake Balls: Remove the cake balls from the freezer and dip each ball into the melted chocolate, fully coating it. Return them to the lined pan. Allow the chocolate to set; if needed, place the pan back in the freezer for 2 minutes to help the chocolate harden.
- Decorate: Use any remaining melted chocolate to drizzle over the coated cake balls using a spoon or piping bag for an elegant finish.
- Store: Store the finished cake balls in the refrigerator for up to 2 weeks to keep them fresh and firm.
Notes
- Ensure the cake is fully cooled before crumbling to avoid a soggy mixture.
- Room temperature cream cheese is key for a smooth frosting.
- Freezing the balls before dipping helps maintain their shape and makes coating easier.
- You can use white chocolate or dark chocolate chips depending on your preference.
- These cake balls can be customized with sprinkles or decorations after dipping.
- Keep stored in an airtight container in the fridge for freshness.


