If you love the idea of bright, glossy, and sweet cherries bursting with flavor, then this Homemade Candied Cherries (Glacé Cherries) Recipe is going to become one of your all-time favorites. These cherry gems bring a nostalgic charm and a vibrant splash of color to everything from holiday cakes to festive cocktails. The best part is how surprisingly simple it is to make them from scratch, allowing you to avoid the overly artificial taste often found in store-bought versions. Trust me, once you get the hang of this homemade technique, you’ll wonder why you ever settled for anything less than fresh, tender, and perfectly candied cherries.
Ingredients You’ll Need
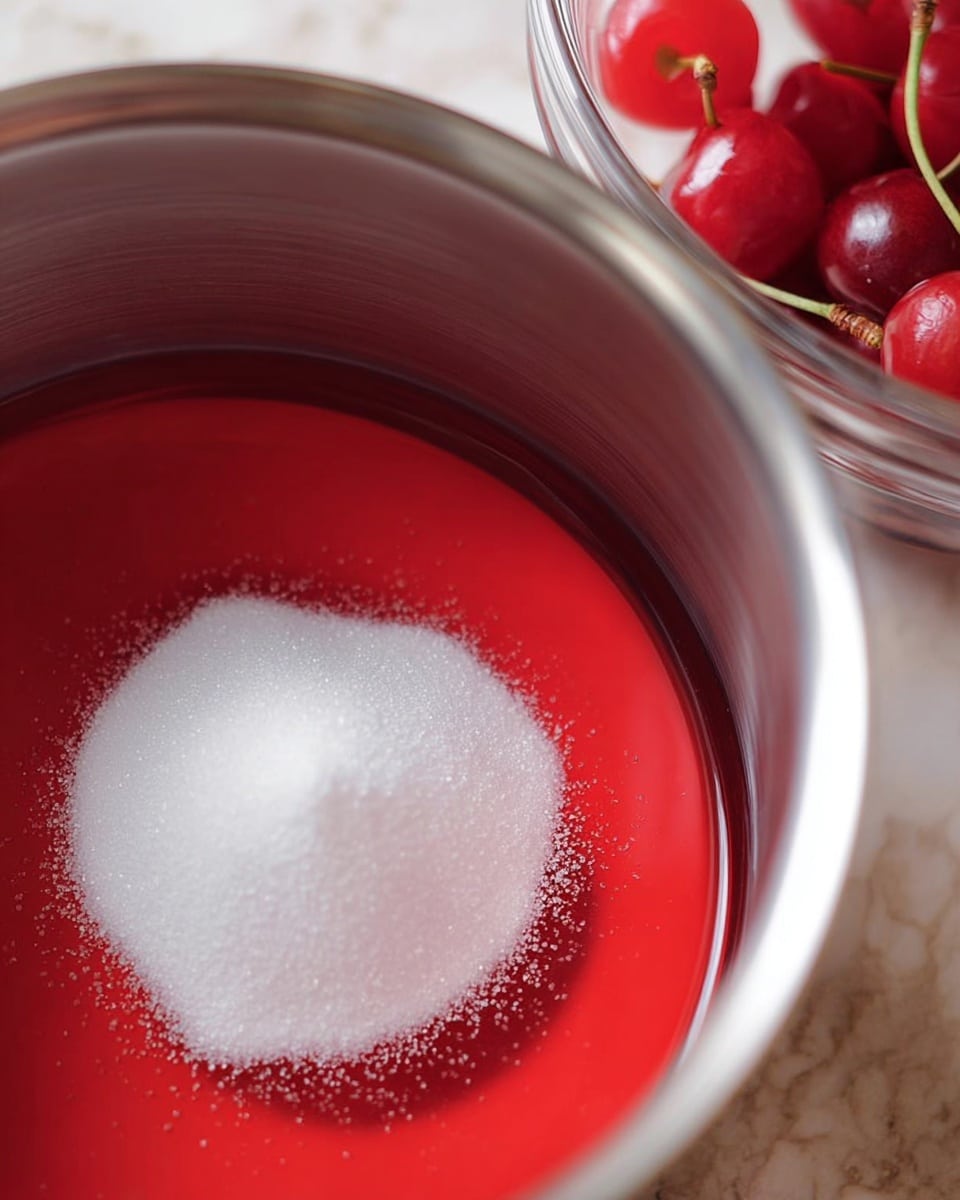
The magic of this recipe lies in its simplicity. With just a few core ingredients, each plays a vital role in crafting that luscious texture and rich sweetness which define candied cherries. Everything works together beautifully to create the perfect balance between syrupy sweetness and the subtle tartness of natural cherries.
- 2 cups natural Maraschino cherries drained: The star of the show, providing natural cherry flavor and vibrant color.
- ¾ cup sugar: Essential for creating the syrup that infuses the cherries with that irresistible sweet glaze.
- ⅓ cup juice from the cherries: Adds authentic cherry flavor and helps dissolve the sugar evenly during cooking.
How to Make Homemade Candied Cherries (Glacé Cherries) Recipe
Step 1: Prepare the Sweet Syrup
Start by combining the cherry juice and sugar in a heavy-bottomed pot. Heat this mixture gently until it just begins to simmer. A key tip here is to avoid stirring; instead, give the pot a gentle swirl to ensure the sugar dissolves smoothly without crystallizing. This simple syrup is the secret ingredient that will soak the cherries in sweetness and gloss.
Step 2: Add the Cherries and Simmer
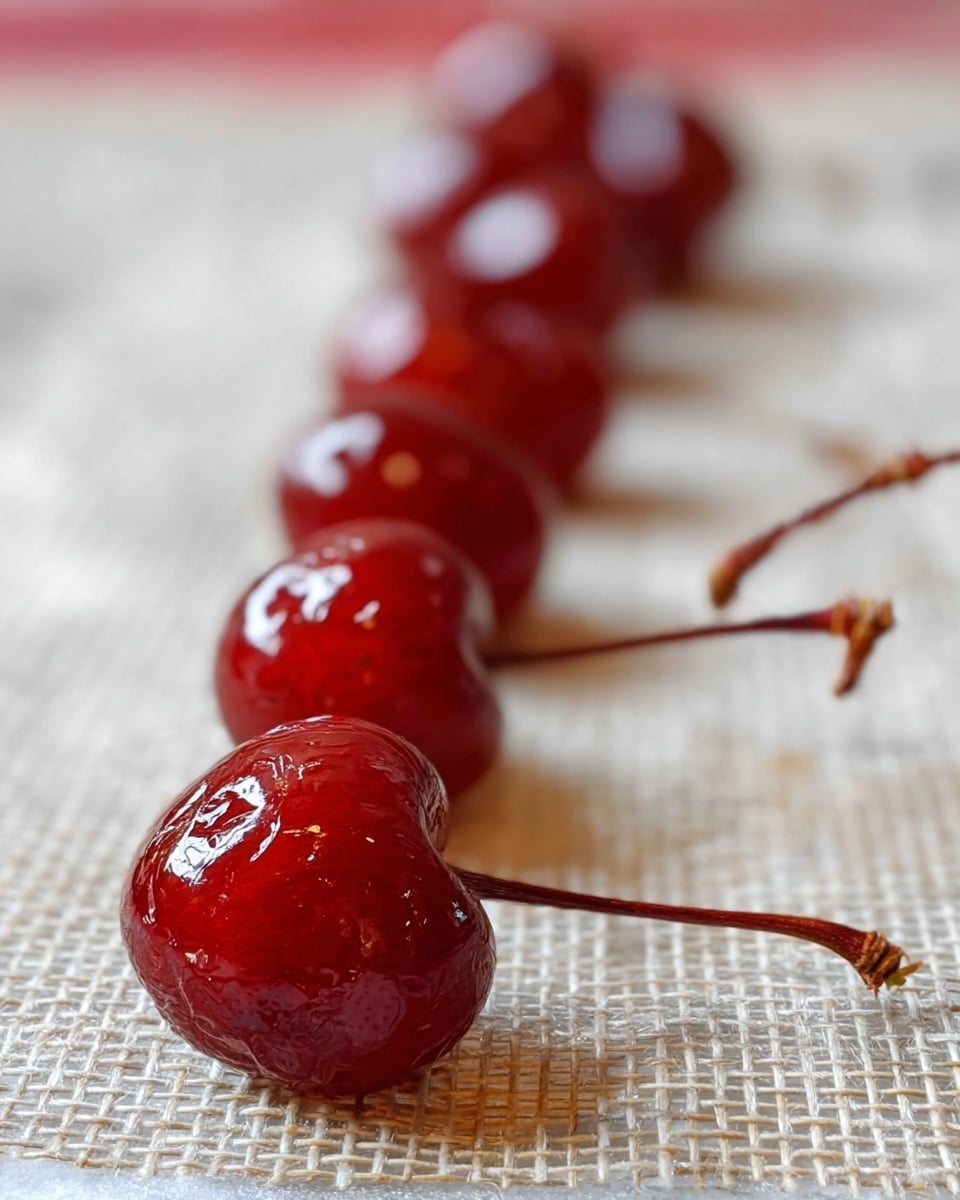
Drop your drained cherries into the simmering syrup. Keep the heat at medium to allow the cherries to gradually soak up the syrup while reducing the liquid. Give the cherries a gentle turn now and then to coat them evenly. Slowly, you’ll notice they start to wrinkle and take on that classic candied appearance – this is the moment the magic kicks in.
Step 3: Monitor the Syrup Temperature for Perfect Texture
As the syrup thickens, grab your candy thermometer and watch closely. You’re aiming for the soft ball stage at approximately 237°F (113°C). This temperature ensures the cherries become perfectly candied—tender but not rock hard. The time it takes to reach this stage can vary widely, typically between 20 and 45 minutes, depending on your equipment. So keep a close eye to avoid overcooking.
Step 4: Cool and Store
Once the syrup hits the right temperature, remove from the heat immediately and spread the cherries out on a silicone mat or parchment-lined tray. This helps them cool properly and prevents sticking. When completely cooled, store your Homemade Candied Cherries (Glacé Cherries) in a sealed container in the refrigerator, where they will keep their charm for up to six months—handy for any future baking or decorating adventures!
How to Serve Homemade Candied Cherries (Glacé Cherries) Recipe
Garnishes
These candied cherries bring life and color to a variety of desserts. Sprinkle them atop ice cream sundaes or decorate cakes and cupcakes for that professional, festive look. They also make a stunning addition to cheeseboards or cocktail garnishes, adding a burst of sweetness beautifully balanced with their chewy texture.
Side Dishes
Looking beyond desserts, candied cherries can add an unexpected twist to savory dishes like glazed ham or roasted pork, where their sweetness complements smoky and salty flavors. Try tossing a few into salads with nuts and cheese to introduce a chewy, fruity pop in every bite.
Creative Ways to Present
For a truly special treat, try threading your Homemade Candied Cherries (Glacé Cherries) onto skewers with cubes of pound cake or pieces of dark chocolate. You can even swirl them into homemade yogurt parfaits or fold them into batter for quick breads and muffins, instantly transforming simple recipes with their jewel-like presence.
Make Ahead and Storage
Storing Leftovers
Any leftover candied cherries should be stored in an airtight container in the refrigerator to maintain freshness and texture. Since they’re preserved in syrup, they can last for six months or longer, which means you’ll have a delicious stash ready whenever you want to add sparkle to your culinary creations.
Freezing
If you want to keep your candied cherries even longer, freezing is a great option. Lay them flat on a tray to freeze individually before transferring to a freezer-safe bag. When thawed, they may release a bit more syrup but will retain their delicious flavor, perfect for baking or garnishing.
Reheating
When you’re ready to use your homemade cherries, you generally don’t need to reheat them. If you’re incorporating them into warm dishes, simply add them toward the end of cooking. If you prefer to revive their syrupy shine, warming gently over low heat with a splash of the syrup can bring them back to life with no fuss.
FAQs
Can I use fresh cherries instead of Maraschino cherries?
While fresh cherries can be used, natural Maraschino cherries already have a softer texture and are pitted, which makes the candying process much easier and quicker. Fresh cherries would require pitting and might need adjustments in cooking time and syrup absorption.
What does soft ball stage mean in candy making?
The soft ball stage refers to the temperature at which sugar syrup, when dropped into cold water, forms a soft, flexible ball. For this recipe, hitting around 237°F (113°C) means your syrup will coat cherries perfectly without becoming too hard or too runny.
Why should I avoid stirring the sugar syrup?
Stirring sugar syrup can cause crystallization, which leads to a grainy texture. Swirling the pot gently allows the sugar to dissolve evenly and keeps your syrup smooth and glossy, ideal for perfectly candied cherries.
How long will these Homemade Candied Cherries last?
Stored in an airtight container in the fridge, your candied cherries should stay fresh and delicious for up to six months. The syrup acts as a natural preservative to keep their flavor and texture intact.
Can I make these candied cherries without a thermometer?
It’s possible but not recommended. The candy thermometer ensures the syrup reaches the correct temperature for the best texture. Without it, you risk under- or overcooking the cherries, which affects their chewiness and sweetness balance.
Final Thoughts
Making your own candied cherries at home is such a rewarding experience—you get control over the sweetness, texture, and color that store-bought versions often miss. This Homemade Candied Cherries (Glacé Cherries) Recipe is simple, fun, and yields spectacular results that brighten any dish they grace. Give it a try, and soon you’ll have a jar of these ruby delights to boost your baking, entertaining, and snacking adventures all year round!
PrintHomemade Candied Cherries (Glacé Cherries) Recipe
This recipe guides you through making homemade candied cherries, also known as glacé cherries, by simmering maraschino cherries in a sugar syrup until they develop a glossy, candied texture perfect for baking or garnishing desserts.
- Prep Time: 2 minutes
- Cook Time: 45 minutes
- Total Time: 47 minutes
- Yield: 16 ounces of candied cherries
- Category: Dessert Ingredient
- Method: Stovetop
- Cuisine: British, Scottish
Ingredients
Ingredients
- 2 cups natural Maraschino cherries, drained
- ¾ cup sugar
- ⅓ cup juice from the cherries
Instructions
- Prepare the syrup: Pour the cherry juice and sugar into a heavy-bottomed pot. Bring the mixture to a simmer without stirring, swirling the pot occasionally until the sugar dissolves completely.
- Add cherries: Once the sugar is dissolved, add the drained cherries to the pot. Continue simmering over medium heat, gently turning the cherries from time to time to ensure even cooking and coating.
- Cook to soft ball stage: As the syrup thickens, monitor the temperature using a candy thermometer. The liquid should reach the soft ball stage, about 237°F (113°C). This process can take between 20 to 45 minutes depending on your equipment.
- Cool the cherries: When the syrup has reached the correct temperature and the cherries have wrinkled and taken on a candied appearance, remove the pot from the heat. Carefully transfer the cherries onto a tray lined with a silicone mat to cool and set.
- Store properly: Use the candied cherries as desired. Store any extras in a sealed container in the refrigerator, where they can last for over 6 months if prepared and stored correctly.
Notes
- The cooking time depends on your pot, burner strength, and syrup thickness, so frequently check the temperature with a candy thermometer to avoid making the cherries too hard.
- Swirling the pot instead of stirring prevents crystallization in the sugar syrup.
- Properly candied cherries can be stored for over 6 months refrigerated.


