If you love bright, zesty flavors combined with a melt-in-your-mouth texture, then you are absolutely going to adore this 3-Ingredient Melting Lemon Candy Recipe. It’s a delightful treat that captures the essence of fresh lemon in a super simple, wonderfully nostalgic candy that practically dissolves on your tongue. Whether you’re making sweets for a party, a gift, or just because you can’t resist that tangy-sweet combo, this recipe is your golden ticket to homemade candy bliss, bursting with sunshine and smiles.
Ingredients You’ll Need
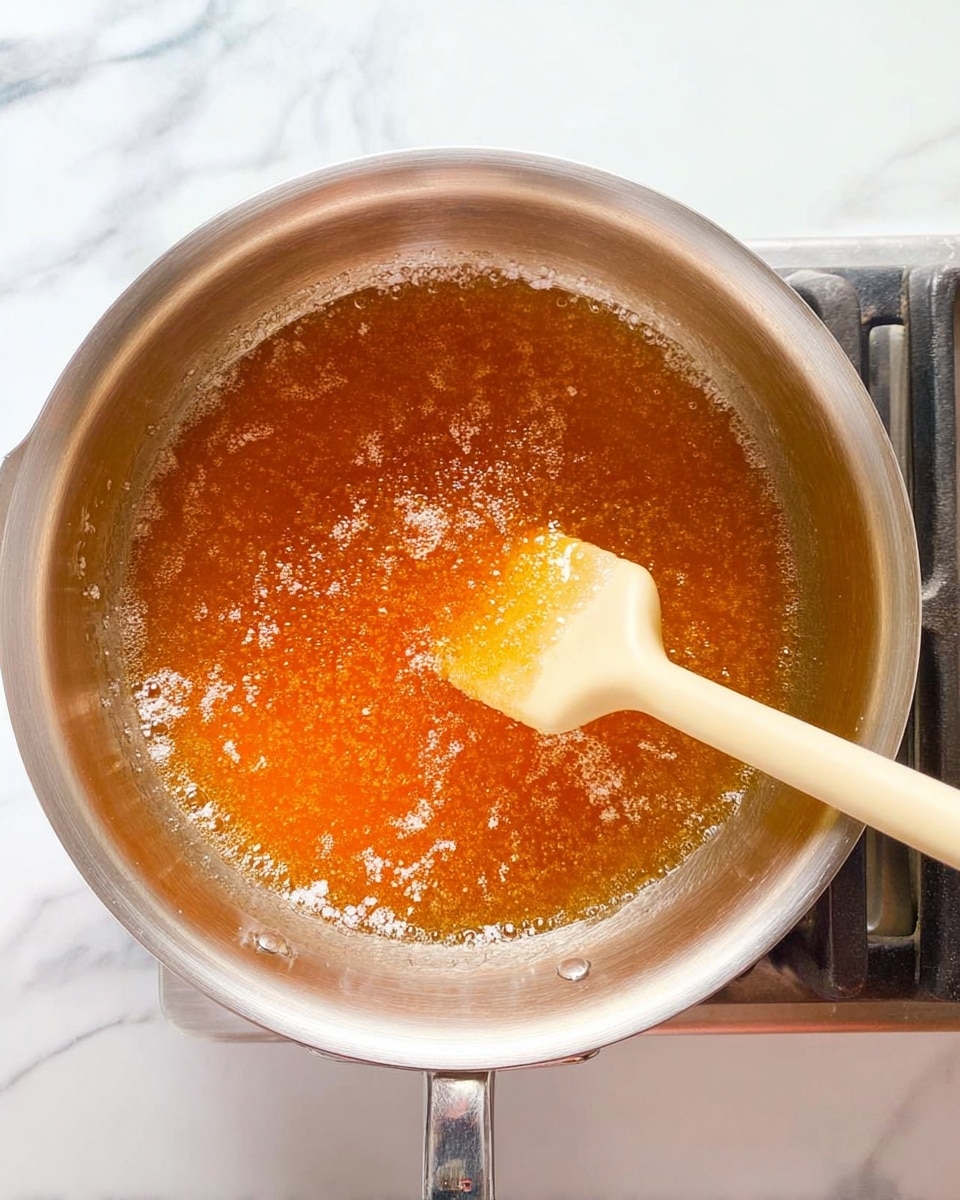
To create this irresistible lemon candy, you only need a handful of ingredients—each carefully chosen for its role in flavor, texture, and that perfect lemony pop. These essentials come together in a straightforward way, proving that sometimes the simplest ingredients yield the most extraordinary results.
- Granulated sugar (200 grams / 1 cup): The sweet base that caramelizes and forms the candy’s body, essential for that classic hard candy texture.
- Water (110 milliliters / 1/2 cup): Helps dissolve the sugar and allows it to cook evenly into a syrup without burning.
- Cream of tartar (1/4 teaspoon): Prevents sugar crystallization, keeping your candy smooth and shiny.
- Natural lemon oil (1 teaspoon): Pure, potent lemon flavor that makes each piece burst with citrus brightness.
- Yellow gel food coloring (2–3 drops): Adds that sunny hue that’s impossible to resist, enhancing the candy’s visual appeal.
- Citric acid (1 teaspoon, optional): Adds a tangy twist to amplify the lemony sharpness for those who love a bit more zing.
- Confectioner’s sugar (70 grams / 1/2 cup): Used after the candy is cut to keep pieces from sticking and adds a delicate coating.
- Vegetable oil or nonstick spray: For coating your kitchen scissors so they cut through candy without sticking.
How to Make 3-Ingredient Melting Lemon Candy Recipe
Step 1: Prepare Your Workspace
Start by covering your countertop or work surface with a silicone baking mat—trust me, this makes handling the hot candy so much easier and less messy. Also, lightly coat your kitchen shears with vegetable oil or nonstick spray; this little trick prevents the candy from sticking when you cut it later.
Step 2: Dissolve the Sugar
In a medium saucepan, combine granulated sugar, water, and cream of tartar. Cook over medium heat, stirring occasionally until the sugar fully dissolves into a clear syrup. This step is crucial because undissolved sugar crystals can ruin the texture.
Step 3: Bring the Syrup to Hard Crack Stage
Once the sugar has dissolved, stop stirring and insert a candy thermometer. Keep cooking the sugar mixture until it hits 300°F (149°C), which is the perfect point for hard candy. Use a wet pastry brush to brush down the sides of the saucepan occasionally to prevent unwanted crystallization. Patience here pays off big time.
Step 4: Flavor and Color the Candy
Remove the pan from heat as soon as the temperature is reached. Stir in the natural lemon oil, yellow gel food coloring, and optional citric acid. This is where your candy transforms from just a sweet syrup to an irresistible lemon treat full of vibrant color and flavor.
Step 5: Cool and Pull the Candy
Pour the hot syrup onto your prepared silicone mat. Because the candy is extremely hot, put on a pair of cotton gloves underneath rubber gloves for protection. Let the syrup rest while gently folding the mat over the sugar periodically. You’ll see the syrup stop spreading and start forming a solid yet pliable mass as it cools.
Step 6: Work the Candy Into Shape
When the sugar no longer runs or loses its shape, fold it over itself 4 to 5 times. The candy thickens and becomes less sticky, showing fine white streaks—that’s a sign it’s ready. Around this time, pull it into a short thick tube, then stretch sections into 1/2-inch diameter ropes.
Step 7: Cut and Coat Your Lemon Drops
Use your oiled kitchen shears to cut the ropes into approximately 3/4-inch pieces. It’s best to work in small portions to prevent the candy from cooling and shattering or becoming tough. Toss these fresh lemon candies in the bowl of confectioner’s sugar to prevent sticking and keep them looking beautifully dusted.
How to Serve 3-Ingredient Melting Lemon Candy Recipe
Garnishes
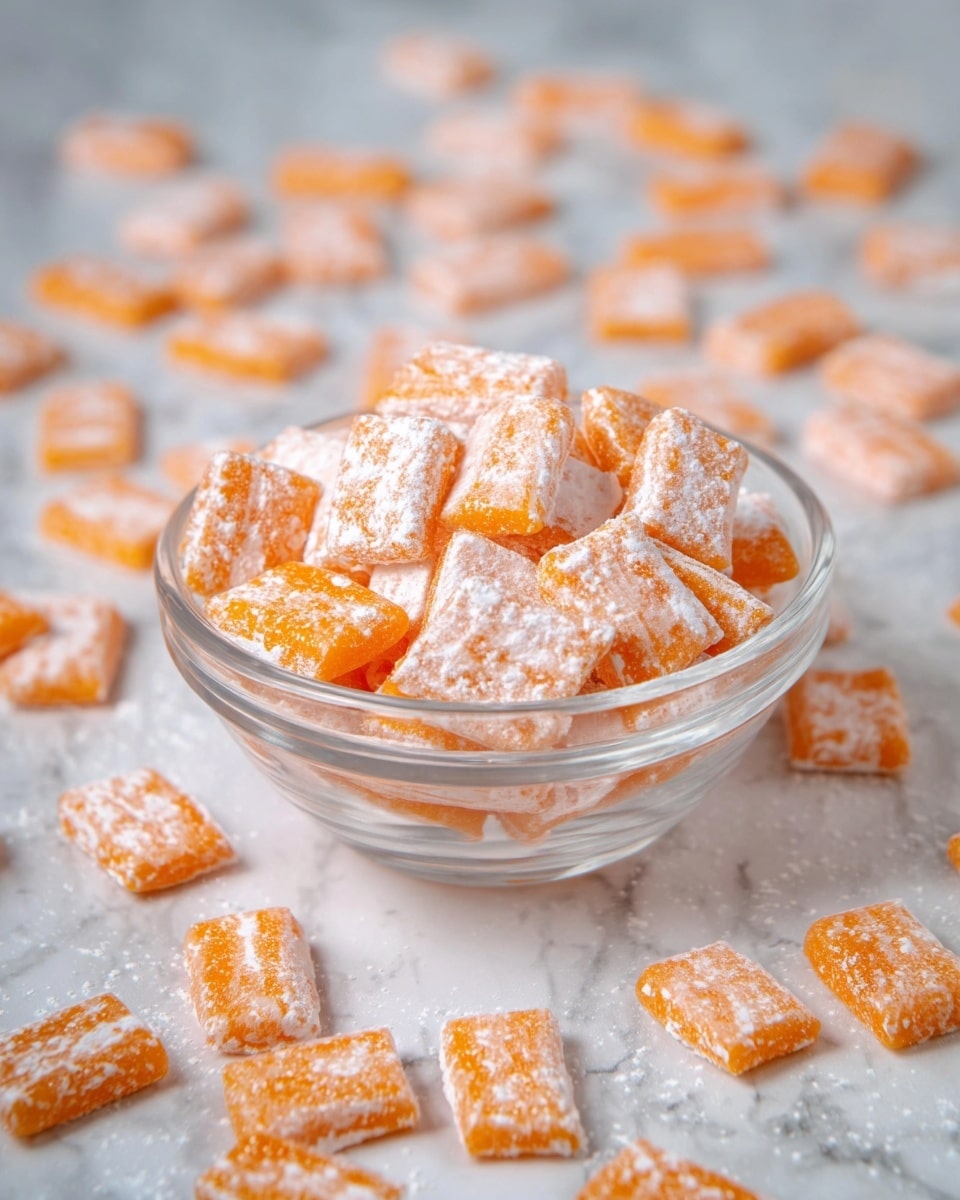
A dusting of confectioner’s sugar is the classic garnish here, giving each lemon drop a delicate finish and preventing clumping. For a fancy touch, you might sprinkle a tiny pinch of finely grated lemon zest over the candies before serving to amp up the citrus experience.
Side Dishes
These candies shine as a sweet finish alongside afternoon tea or coffee, where their vibrant lemon flavor cuts through richer drinks. You could also serve them with a light fruit salad, balancing the fresh fruit notes with the candy’s vibrant zing.
Creative Ways to Present
Try packaging these candies in clear cellophane bags tied with a lemon yellow ribbon—perfect for gifts or party favors. For a striking display, arrange the candies in a glass bowl topped with edible flower petals or a thin lemon slice for a burst of color and fragrance.
Make Ahead and Storage
Storing Leftovers
Keep your leftover lemon candies fresh by storing them in an airtight container at room temperature. Properly stored, they’ll stay delicious for up to six weeks. Make sure to keep them away from humidity, as moisture can cause them to stick together.
Freezing
Freezing is generally not ideal for hard candies like these because condensation can make them sticky when thawed. It’s best to enjoy them fresh or stored at room temperature in a dry spot.
Reheating
This candy is best eaten as-is without reheating. If you try to soften or melt it again, it may lose that perfect balance of texture and flavor. Instead, just savor the original melt-in-your-mouth magic fresh from storage.
FAQs
Can I use fresh lemon juice instead of lemon oil?
Fresh lemon juice contains water and acidity that can alter the candy’s texture and cooking process. Lemon oil is concentrated and pure, making it the best choice for that intense lemon flavor without affecting candy consistency.
What if I don’t have cream of tartar?
Cream of tartar helps prevent crystallization and makes the candy smoother. If you don’t have it, you can substitute with a few drops of lemon juice or white vinegar, but the texture might be a bit different and needs careful stirring.
How do I know when the candy is ready to pull?
The candy is ready to pull when it forms a ball that holds its shape and is no longer runny or gooey. You’ll see it become thicker and develop white streaks as you fold and pull it.
Can I make this recipe without food coloring?
Absolutely! The candy will still taste fantastic, but the yellow gel coloring adds that beautiful, vibrant lemon look that makes it visually irresistible.
What is citric acid for and can I skip it?
Citric acid boosts the tangy lemon flavor and helps balance the sweetness. You can skip it if you prefer a milder taste, but adding it gives the candy that classic lemon drop this recipe is famous for.
Final Thoughts
This 3-Ingredient Melting Lemon Candy Recipe is a heartwarming, joyful way to bring a little sunshine and sweetness into any day. With its simple ingredients and wonderfully satisfying process, it’s the perfect project for candy lovers new and old. I can’t wait for you to try it yourself and experience the magic of these delightful lemon drops that truly do melt in your mouth. Happy candy making!
Print3-Ingredient Melting Lemon Candy Recipe
This 3-Ingredient Lemon Candy recipe creates delicious, melt-in-your-mouth lemon drops that are tangy, sweet, and perfect for candy lovers. Made with granulated sugar, water, and natural lemon oil, these homemade lemon candies are flavored with a hint of cream of tartar and optional citric acid for extra tartness. Coated in confectioner’s sugar, they offer a delightful texture and a vibrant yellow color enhanced by gel food coloring. With just a handful of ingredients and simple stovetop cooking, you can whip up 60 servings of classic lemon candy that can be stored for weeks.
- Prep Time: 10 minutes
- Cook Time: 35 minutes
- Total Time: 45 minutes
- Yield: 60 servings
- Category: Candy
- Method: Stovetop
- Cuisine: American
Ingredients
Dry Ingredients
- 200 grams granulated sugar (1 cup)
- 1/4 teaspoon cream of tartar
- 1 teaspoon citric acid (optional)
- 70 grams confectioner’s sugar (1/2 cup), for coating
Wet Ingredients
- 110 milliliters water (1/2 cup)
- 1 teaspoon natural lemon oil
- 2–3 drops yellow gel food coloring, or as desired
Other
- Vegetable oil or nonstick spray, for coating kitchen scissors
Instructions
- Prepare workspace: Cover your countertop or work surface with a silicone baking mat to prevent sticking and make handling the hot candy easier.
- Prepare tools: Spray kitchen shears with vegetable oil or nonstick cooking spray to avoid candy sticking to the scissors when cutting.
- Set confectioners sugar aside: Place the confectioners sugar into a large bowl, which will be used to coat the finished candy pieces.
- Combine sugar mixture: In a medium saucepan, mix granulated sugar, water, and cream of tartar. Cook over medium heat while stirring occasionally until the sugar fully dissolves.
- Monitor temperature: Once dissolved, stop stirring and insert a candy thermometer. Heat the mixture without stirring, brushing down the sides with a wet pastry brush to avoid crystallization, until it reaches 300°F (149°C), which takes about 15 minutes.
- Remove from heat and flavor: Take the saucepan off the stove, then stir in lemon oil, yellow food coloring, and optional citric acid thoroughly.
- Pour hot syrup: Carefully pour the hot sugar mixture onto the prepared silicone mat. Wearing cotton gloves topped with rubber gloves (to protect from heat), begin working the candy.
- Rest and fold: Let the sugar syrup rest on the mat, frequently folding the mat over itself. This helps the sugar form a mass instead of remaining runny.
- Check readiness: The sugar is ready to pull when it forms a ball that holds shape, is hot and pliable, but no longer gooey or runny.
- Pull the candy: Using gloved hands, fold the sugar over itself 4-5 times until it thickens and develops white streaks, then pull it into a short, thick tube.
- Form ropes and cut: Stretch a section of the tube into a 1/2-inch diameter rope and cut with oiled scissors into 3/4-inch pieces.
- Work in sections: Pull in 12-inch increments to prevent sugar from cooling and becoming brittle, keeping the rest of the sugar as a large mass until ready to pull.
- Coat candies: Toss cut lemon drop pieces in the bowl of confectioners sugar to coat evenly.
- Store properly: Place candies in an airtight container and store at room temperature for up to six weeks.
Notes
- Use a candy thermometer to ensure the sugar reaches the precise hard crack stage (300°F / 149°C) for the perfect candy texture.
- Coating kitchen scissors with oil prevents candy from sticking and allows smooth cutting.
- Wearing gloves is crucial when handling hot sugar to avoid burns.
- Folding and pulling the sugar mixture incorporates air creating the characteristic opaque white streaks and texture of lemon drops.
- If you don’t have natural lemon oil, lemon extract can be used but the flavor intensity may vary.
- Citric acid is optional but adds a sharper tang, enhancing the lemon flavor.
- Work quickly to pull and cut before the sugar cools, as it becomes brittle when cold.


